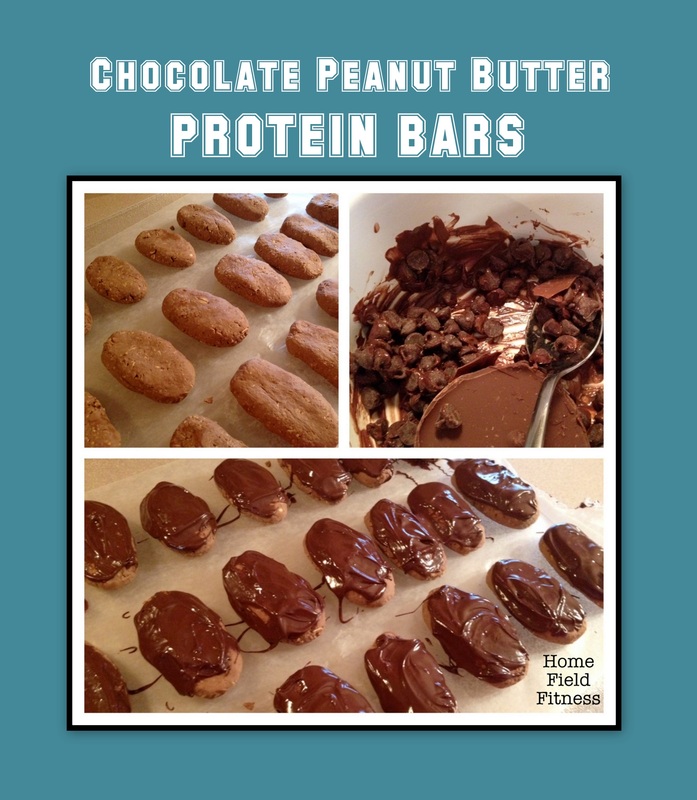
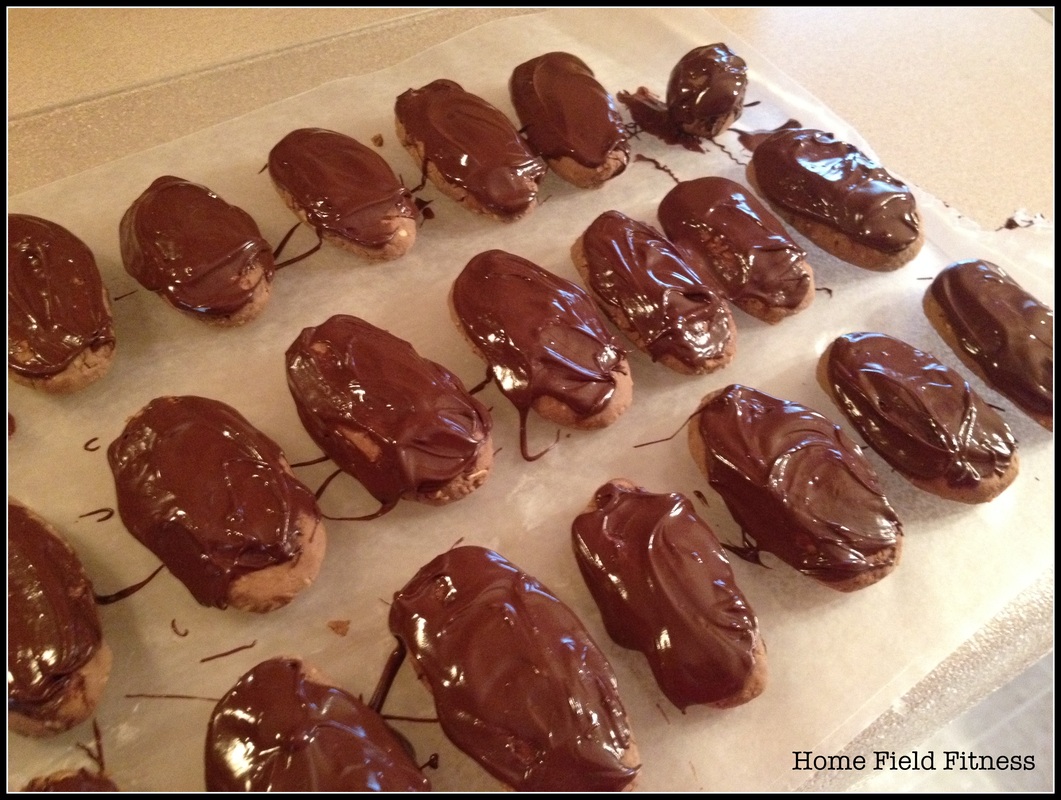
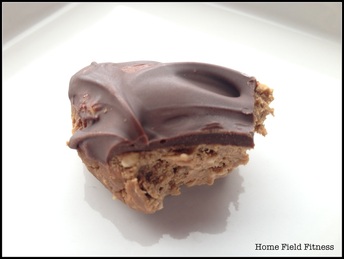
This week I made a big batch of homemade protein bars. Both my hubby and I need a good, filling snack to get us through between-meal-times. Pre-made protein bars can get really expensive, and often have lots of added junk that I don't want to eat! If you have food allergies it can be really challenging to find safe bars at the market too. If you're ready to take over and make your own bars - this is the recipe for you! It is super simple, and really easy to adapt to all kinds of food allergies. I posted it a while back on my old blog, but when I posted about the bars on Instagram the other day I got a lot of recipe requests so I thought I would bring it back! Plus - this time I have a few better pictures that make them look slightly less like turds (I said slightly).
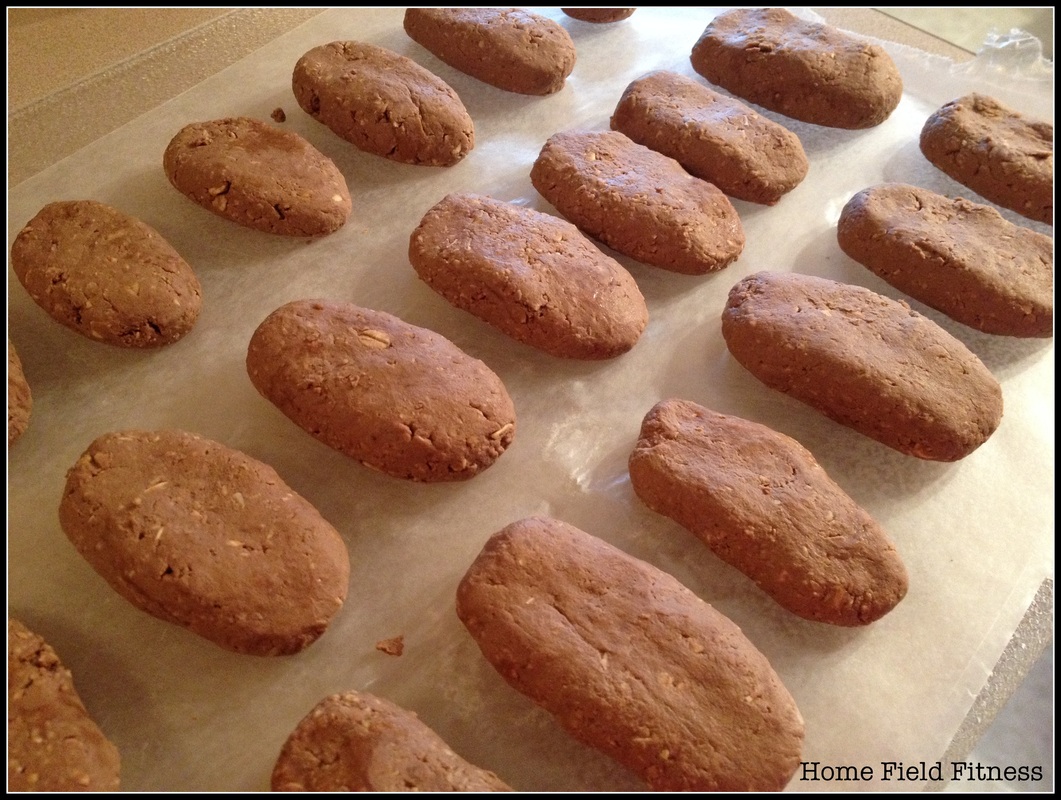
This recipe is based on one I discovered on Protein Pow! a long time ago. I highly recommend this site if you like to bake with protein powder. In an excerpt straight from my old blog..."They kick some protein bar butt. Serious butt. Never mind that while I was making them I took pictures of the brown logs and texted them to my friends telling them I was making poop log protein bars (ok, one friend…I only have one friend who would ever appreciate such text…isn’t she lucky?). Ok, ok, besides the little logs looking like something kinda gross…these were seriously a home run.". This just made me smile and I had to post it again. Don't YOU have a friend who you can text stuff like that to? OK Ok...here's the recipe. I will include allergy friendly variations at the end!
Chocolate Peanut Butter Protein Bars - GF, DF, Vegan
what's in it?
1.5 cups brown rice protein powder
1 Tbsp unsweetened cocoa powder
1/2 cup oat flour (I used Bob's Red Mill GF Oats ground into flour)
1/4 cup natural peanut butter
1.5 cups almond milk
1/3 cup Enjoy Life Chocolate Chips
1 Tbsp unsweetened cocoa powder
1/2 cup oat flour (I used Bob's Red Mill GF Oats ground into flour)
1/4 cup natural peanut butter
1.5 cups almond milk
1/3 cup Enjoy Life Chocolate Chips
how do I make it?
- Mix all the ingredients (except the chocolate chips) in a large bowl with a fork, until it’s a good ooey, gooey texture. It should hold together pretty well.
- Shape into logs – and send icky pictures to your friends. Place the bars on wax paper.
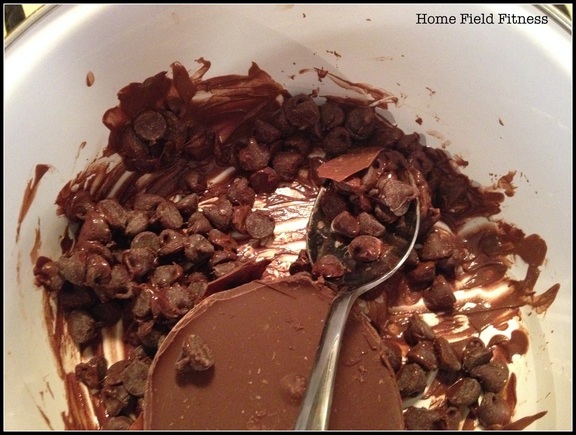
- Then melt your chocolate in a small pan inside another pan on your stovetop. I put about a 1/2 cup of water in the bottom pot to heat the chocolate. (makeshift double boiler here...or you could use a double boiler, duh)
- When your chocolate is melted, either dunk your bars or drizzle over the top.
- Put in the freezer for 15-20 minutes until the chocolate is hardened.
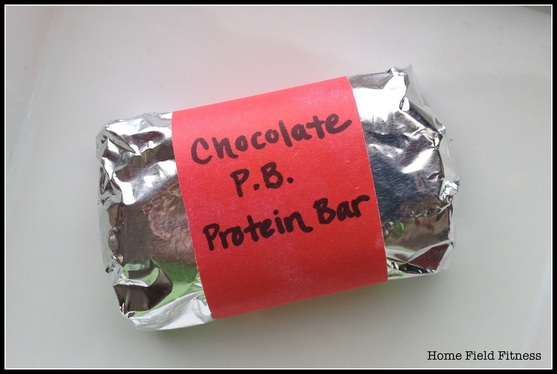
- Wrap in foil and store in the fridge or freezer.
- Try not to eat them all in one day.
other variations
Like I said - this recipe is super easy to adapt for food allergies, or just to make different flavors. Here are some options that all work great:
- Use whey protein powder if dairy isn't an issue. Or pea or soy protein too. Just be sure there are no extra weird sweeteners.
- Any nut or seed butter works great! When I was on a no-nut diet, I used sunbutter and they were great. We've also used almond butter.
- Milk changes are fine too! Use cows milk, rice milk, coconut milk, or any combination of milks to equal the 1.5 cups.
- Chocolate topping can be varied too. Use semi-sweet chocolate chips if dairy isn't a problem, or dark chocolate if you like it to be richer. Maybe carob would work too?
- Finally, free to add in things like chopped nuts, shredded coconut or other mix-ins to add some crunch and change the flavor. Get creative and have fun!
the facts
Per Bar (if recipe makes 20 bars)
Calories: 122 cal
Carbs: 8 grams
Fat: 4 grams
Protein: 16 grams
Fiber: 2 grams
Sugar: 4 grams
Calories: 122 cal
Carbs: 8 grams
Fat: 4 grams
Protein: 16 grams
Fiber: 2 grams
Sugar: 4 grams
I hope you love these as much as we do at our house! These are great for traveling, an afternoon pick-me-up, a post-workout snack or a pre-game energizer. ENJOY!

 RSS Feed
